A survival guide for students, renters, and resourceful DIY enthusiasts dealing with water damage.
How to Clean Up Water Damage on Your Own When Professional Help Isn’t an Option
Water damage is one of those domestic disasters that sneaks in like a side character but quickly hijacks the entire storyline. One moment, you’re finishing homework or prepping dinner—and the next, you’re ankle-deep in murky water, wondering how life turned into the pilot episode of Survivor: Studio Apartment Edition.
For students, young renters, or first-time homeowners, water damage cleanup can feel overwhelming—not just because of the mess but because most guides out there assume you’ve got a $300 dehumidifier and a professional crew on speed dial. And let’s be honest: most of us don’t.
This blog isn’t about fancy equipment or insurance-covered miracles. It’s about real solutions for real people. It’s about how to take control when professional help is out of reach—because you deserve to understand what’s happening, how to fix it, and how to protect yourself moving forward.
Whether you’re referencing this for a research project, trying to impress your landlord, or just getting through the chaos with dignity intact—this is your comprehensive, story-backed, and science-supported guide to DIY water damage cleanup.
Understanding the Water You’re Facing
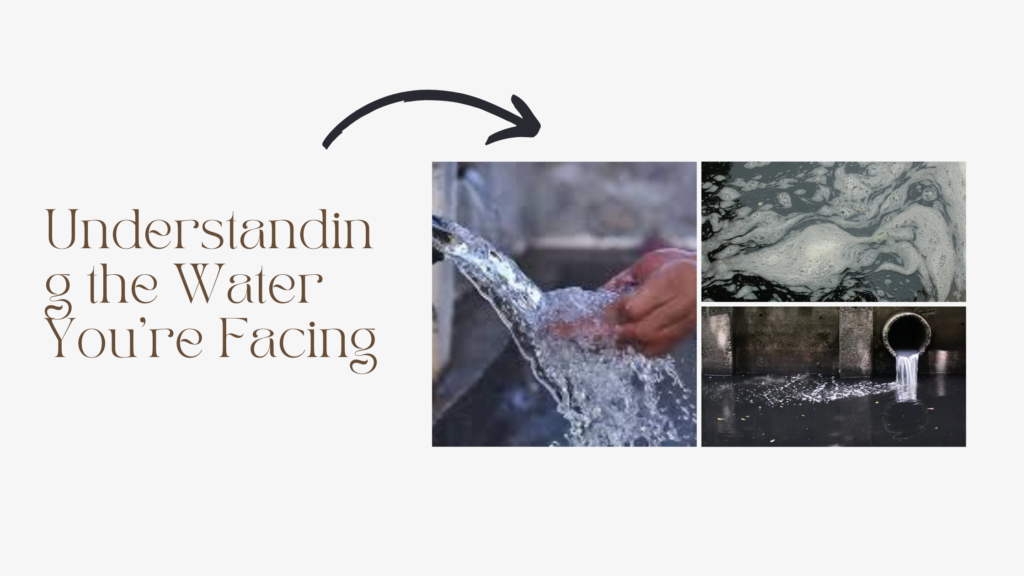
Not all water damage is created equal—and identifying what kind of water you’re dealing with is the first major move. Imagine you’re in a detective movie (we’re talking Knives Out, not Sharknado)—you’ve got to assess the scene to know what tools you need and how safe it is to dive in.
Restoration professionals categorize water into three types based on contamination levels, as outlined in the FEMA guidelines on flood damage. It’s less about how wet it is and more about how nasty it could be.
- Clean Water: This comes from broken pipes, leaky faucets, or rainwater. It’s safe to handle, but only for a short period before bacteria start moving in.
- Gray Water: This is lightly used water from washing machines, dishwashers, or sinks. It might carry dirt, soap, or food particles—nothing you’d want on your pillowcase.
- Black Water: The final boss of water damage. This includes sewage, floodwaters, and anything that’s been contaminated with waste, chemicals, or unknown sources. It’s unsafe, unsanitary, and should never be handled without proper protective gear—or better yet, professional help.
If you’re unsure, err on the side of caution. Always assume the water could be unsafe, especially if it smells weird, looks cloudy, or came from the outside.
Safety First: Before You Touch Anything
Before you lift a single towel or plug in a fan, you need to check if it’s safe to even be in the space. Safety isn’t optional—it’s your shield against turning a household emergency into a personal one.
First and foremost, shut off the power to the affected area. Water and electricity together are a no-go. If your breaker box is wet or inaccessible, wait. Risking electrocution isn’t worth saving your rug.
For health and safety, the CDC recommends following these mold cleanup procedures if growth appears after 24–48 hours of moisture exposure.
- Rubber gloves to protect your skin from contaminants
- Waterproof boots or sturdy shoes
- A face mask (especially if it’s been over 24 hours—mold spores don’t wait)
Treat the space like a mini crime scene. Don’t wade through water without knowing what’s underneath. Broken glass, nails, or even wildlife (yes, seriously—snakes have made surprise appearances) can lurk in the mess.
If you feel unsure about any part of the environment—get help or get out. No cleanup guide is worth risking your health.
Stopping the Source: Finding the Culprit and Containing It
Now that you’ve geared up and ensured safety, it’s time to figure out where the water is coming from. Picture it like a boss level in a video game—you can’t move forward until you’ve found the leak and stopped it.
For pipe leaks, locate your water shutoff valve. It’s often under the sink, near your water heater, or outside near the foundation. Turn it off to cut the water supply. If it’s a minor drip and you can’t shut it off completely, wrap the pipe in a towel and tape it up temporarily while you work.
If the damage is from outside—like rain getting in through a busted window or roof—do your best to patch the area. A plastic tarp and duct tape can go a long way in an emergency. Channel the Home Alone spirit and improvise with what you’ve got. Even garbage bags, staplers, or furniture rearrangement can help keep water from spreading.
Keep in mind: Containments aren’t always about fixing the full problem on the spot—they are about limiting the damage long enough to start cleanup. Control the chaos first. You’ll get to repairs later.
Removing the Water: Buckets, Towels, and Every Drop Counts
Now we get physical. It’s time to move water out—and fast. The longer water sits, the more time it has to seep into baseboards, walls, and subflooring. Left untreated, even clean water will breed mold in 24 to 48 hours.
You don’t need fancy machines to make progress. You just need to be thorough.
Start with the obvious:
- Use a wet/dry vacuum if available. These are lifesavers and can often be rented from hardware stores.
- If you’re low-tech, buckets and mops are still highly effective.
- Squeegees work great on hard floors to push water out the door.
- For carpets, press down with old towels or sheets. The goal is absorption—think of yourself as a sponge ninja.
If you’re in a basement or garage and water is still seeping in, create a drainage path. Open the garage door or angle water toward a floor drain. It’s not glamorous, but it gets the job done.
Once the standing water is gone, take a breath—you’ve already made serious progress. Now, it’s time to go deeper.
Drying Out the Space: Airflow Is Your Best Friend
Water may be invisible at this point, but it’s still very much there—so now the mission is to pull moisture out of every crack, corner, and crevice.
Start by opening every window you can. Create airflow. Add fans—lots of them. Aim them toward damp walls, floors, and fabrics. If you can, point them out a window to push moist air outside.
A dehumidifier is gold in situations like this. It literally pulls water out of the air. If you can borrow or rent one, do it. Leave it running for days, even if things seem dry. Moisture hides behind baseboards, inside wall cavities, and underneath flooring.
If you don’t have access to high-tech tools, go old-school:
- Use hair dryers on low heat for small, sensitive areas like drawers or shelves
- Hang rugs and blankets outside if weather allows
- Place moisture-absorbing products like baking soda, silica gel, or even dry rice in closets or cabinets
Monitor everything. Touch it. Smell it. If it feels even slightly damp, keep drying. This isn’t the time to guess—it’s the time to be relentless.
Disinfection and Cleanup: Kill the Germs Before They Take Over
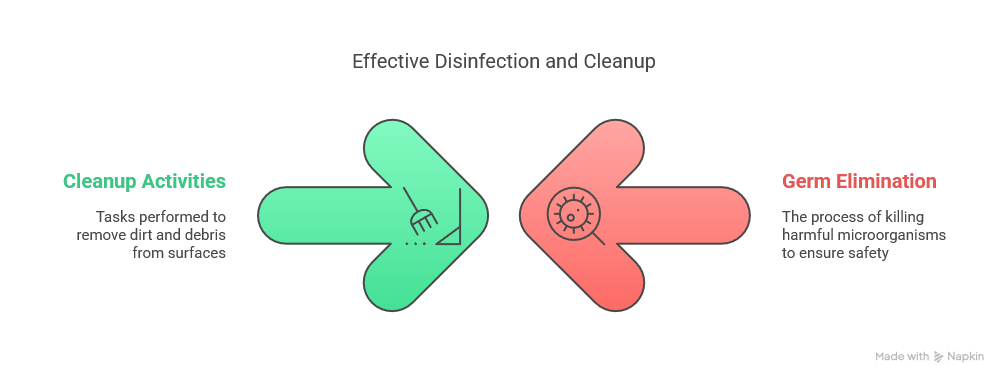
Once the space is dry (or nearly dry), it’s time to clean. This isn’t just about getting rid of stains—it’s about eliminating bacteria, preventing mold, and keeping your home healthy.
Start with hard surfaces:
- Use a disinfectant cleaner like diluted bleach (1 cup bleach to 1 gallon water).
- Wipe down floors, counters, doors, and any non-porous items that touched the water.
- Scrub corners, baseboards, and wall edges—mold loves these areas.
For soft goods like blankets, rugs, or curtains, wash them in the hottest water they can handle. Add white vinegar or baking soda to help kill microbes and odors.
What about stuff you can’t clean?
- Toss it. Especially porous items like pillows, insulation, paper, or cardboard boxes. If you wouldn’t trust it near your face, don’t keep it in your home.
If this step feels repetitive, that’s okay. Cleaning is both physical and psychological. You’re not just removing bacteria—you’re reclaiming your space.
Watching for Mold: Your Unseen Opponent
Mold doesn’t need much to thrive—just moisture, darkness, and about 48 hours. And unlike water, it doesn’t just dry up and disappear. It sticks around and spreads, quietly, until it becomes a full-blown health hazard.
You might first notice the smell: musty, earthy, or like a damp basement. Then you’ll spot the signs—fuzzy patches, dark stains on drywall, or bubbling paint.
Even if you cleaned well, keep an eye out for these signs over the next few weeks:
- Discoloration on ceilings or walls
- Peeling wallpaper
- Unexplained allergies or headaches
Use mold-killing sprays (commercial or natural) on any suspicious areas. Tea tree oil, white vinegar, and hydrogen peroxide are all solid DIY options. And remember—if you find a mold patch larger than 10 square feet, that’s when it’s time to call professionals. No shame in it. Mold is serious.
Documenting Everything: Smart Now, Safe Later
Even if you’re not filing an insurance claim, documenting damage is a crucial step. It helps you understand the scope of the problem, plan for repairs, and protect yourself legally.
Here’s what to record:
- Take photos and videos before, during, and after cleanup
- Note the dates and times of damage and every major step you took
- Keep receipts for anything you bought or rented
If you’re a student, this documentation can even become part of a research project or case study on sustainable living, emergency management, or property resilience. Knowledge is power—and sometimes, it’s also your best backup.


Long-Term Prevention: You Can’t Control the Weather, But You Can Prepare
Water damage cleanup isn’t just about this one time—it’s about making sure it doesn’t happen again. Prevention is your future-saver.
Start with what you can control:
- Patch roof leaks as soon as you spot them
- Reseal windows and doors before rainy season
- Clean gutters and downspouts twice a year
- Add water alarms or moisture detectors in vulnerable areas
For renters, prevention is often about communication. Report leaks early. Document what you see. Ask your landlord about waterproofing efforts. A small conversation now can prevent major damage later.
As restoration pro James Weaver puts it:
“The best cleanup is the one you never have to do.”
You Just Leveled Up

You faced water damage without professional help—and that’s no small feat. You handled safety, cleanup, drying, disinfecting, mold prevention, and documentation like a pro. That’s not just DIY—that’s life mastery.
No, it wasn’t easy. And no, it wasn’t glamorous. But you’ve done something that’ll pay off for years to come. And the next time disaster strikes (because life does keep things interesting), you’ll be even more prepared.
Because being capable? Being informed?
That’s always in style.